Image similarity
Given an image, the goal of an image similarity model is to find "similar" images. Just like in image classification, deep learning methods have been shown to give incredible results on this challenging problem. However, unlike in image similarity, there isn't a need to generate labeled images for model creation. This model is completely unsupervised.
Creating the model
In this example, we use the Caltech-101 dataset which contains images objects belonging to 101 categories with about 40 to 800 images per category.1
import turicreate as tc

# Load images from the downloaded data
reference_data  = tc.image_analysis.load_images('./101_ObjectCategories')
reference_data = reference_data.add_row_number()

# Save the SFrame for future use
reference_data.save('./caltech-101.sframe')
We can explore the data interactively using:
reference_data.explore()Next, we create an image similarity model using the data (commonly called reference data)
model = tc.image_similarity.create(reference_data)Querying the model
Once created, we can query the model to retrieve the ten closest images
in the original reference data (by setting the k parameter to 10).
The result of the query method is an SFrame with four columns: query
label, reference label, distance, and rank of the reference point
among the query point's nearest neighbors.
Note: You can pass in an image, or an SArray of images into the model.query
method. This image or array of images does not need to be a part of the
original dataset.
query_results = model.query(reference_data[0:10], k=10)
query_results.head()
+-------------+-----------------+---------------+------+
| query_label | reference_label | distance | rank |
+-------------+-----------------+---------------+------+
| 0 | 0 | 0.0 | 1 |
| 0 | 2557 | 18.3461090355 | 2 |
| 0 | 7000 | 18.3861360371 | 3 |
| 0 | 2664 | 18.655464356 | 4 |
| 0 | 1968 | 18.887705352 | 5 |
| 0 | 7764 | 19.0063301087 | 6 |
| 0 | 4296 | 19.0114573751 | 7 |
| 0 | 221 | 19.1188139256 | 8 |
| 0 | 1361 | 19.1415785143 | 9 |
| 0 | 1148 | 19.1690505999 | 10 |
+-------------+-----------------+---------------+------+
[100 rows x 4 columns]Now, for a simple image like this (let's say the 10th image in the data).
reference_data[9]['image'].show() Note: the loading order of images is non-deterministic, so your 10th image
is likely something different but this isn't important for demonstration purposes.
Note: the loading order of images is non-deterministic, so your 10th image
is likely something different but this isn't important for demonstration purposes.
The 10 most "similar" looking images are
similar_rows = query_results[query_results['query_label'] == 9]['reference_label']
reference_data.filter_by(similar_rows, 'id').explore()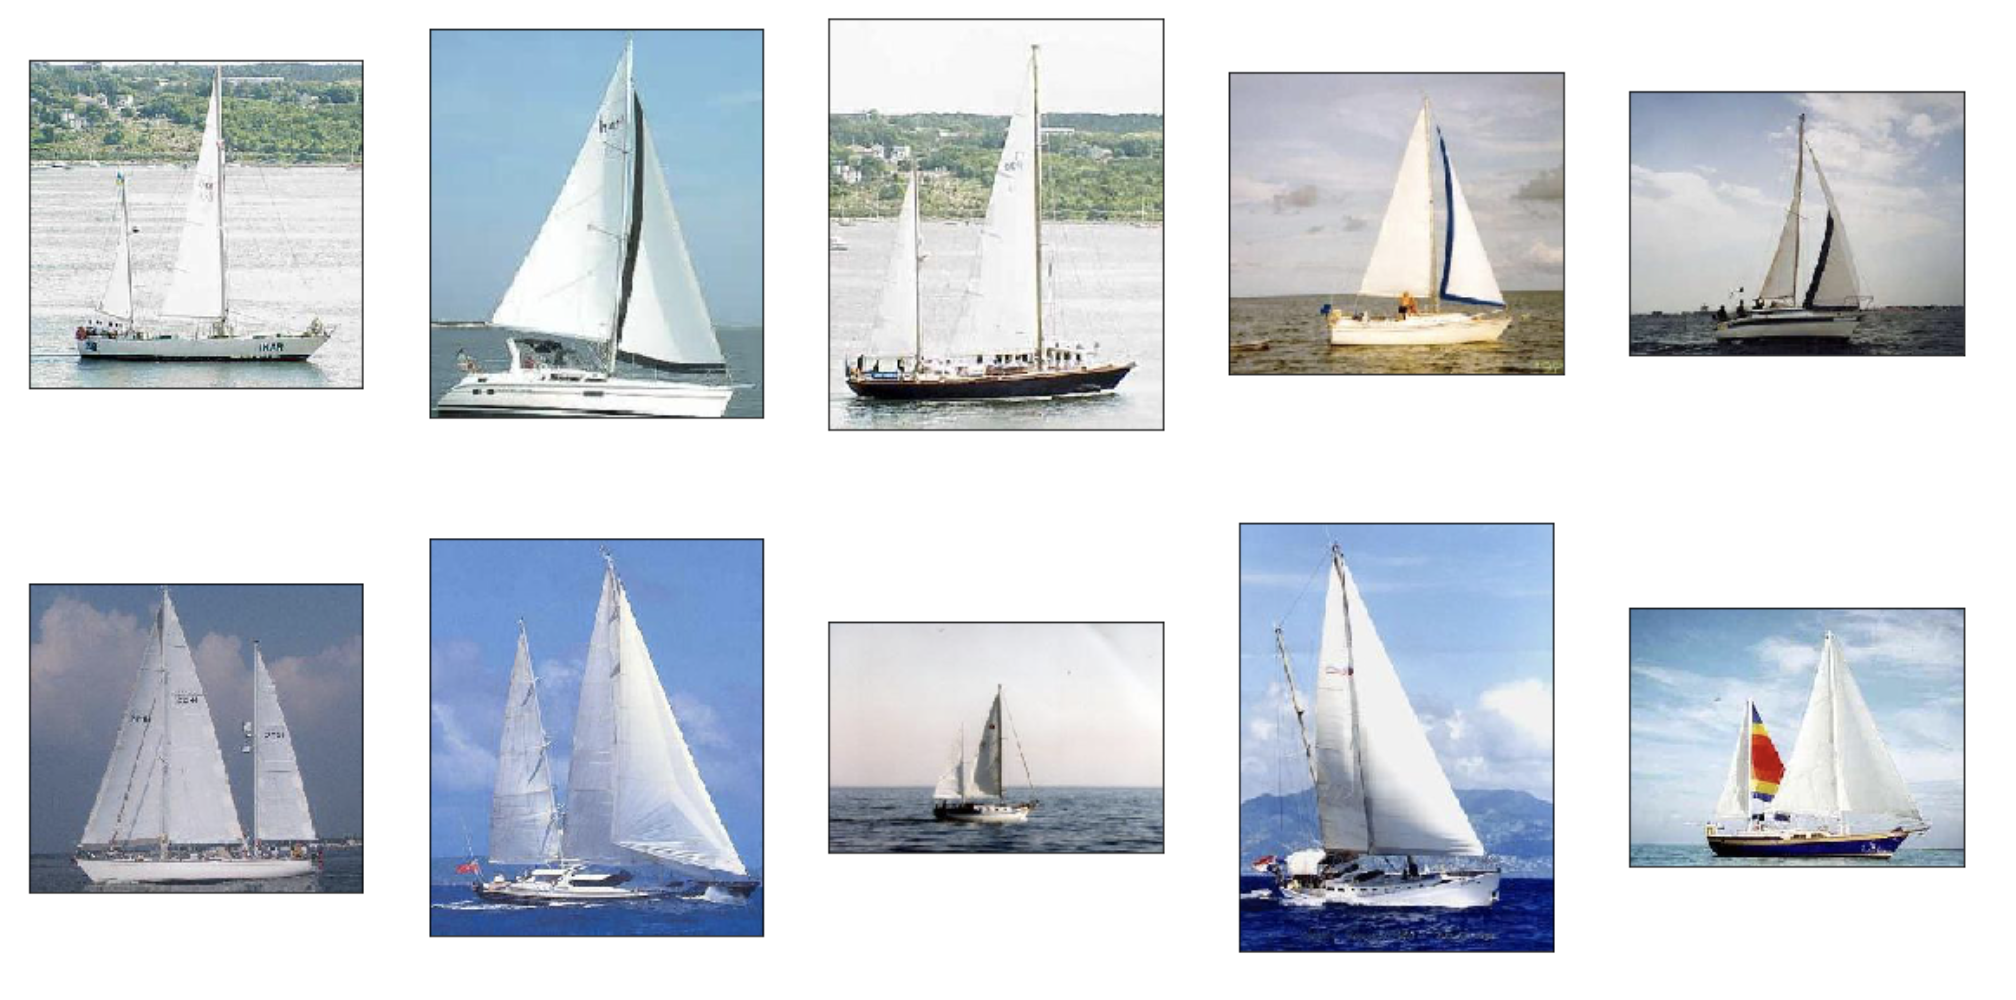
Similarity graph
In some cases, we want to find the most similar images in the reference
dataset for all images in the reference dataset. The similarity_graph
method returns an SGraph whose vertices are the row numbers of the reference
dataset and whose edges indicate a nearest neighbor match. Specifically,
the destination vertex of an edge is a nearest neighbor of the source
vertex. similarity_graph can also return results in the same form as the
query method if so desired.
similarity_graph = model.similarity_graph(k=10)
similar_images = similarity_graph.edges
+----------+----------+---------------+------+
| __src_id | __dst_id | distance | rank |
+----------+----------+---------------+------+
| 1145 | 3031 | 16.6532360195 | 1 |
| 1145 | 8627 | 16.7883178946 | 2 |
| 1145 | 8559 | 16.9748661517 | 3 |
| 1145 | 238 | 17.6599250835 | 10 |
| 1158 | 4523 | 17.0756179217 | 2 |
| 1161 | 7422 | 16.9777686727 | 2 |
| 1161 | 1203 | 17.1384324655 | 7 |
| 1180 | 6636 | 16.7749244209 | 9 |
| 1182 | 3276 | 16.8179663995 | 5 |
| 1182 | 7717 | 16.889624839 | 6 |
+----------+----------+---------------+------+
[91440 rows x 4 columns]Saving the model
Once you have created a model, you can save it and load it back later for use.
model.save('./caltech-101.model')
loaded_model = turicreate.load_model('./caltech-101.model')
Using GPUs
GPUs can make creating an image similarity model much faster. If you have macOS 10.13 or higher, Turi Create will automatically use the GPU. If your Linux machine has an NVIDIA GPU, you can setup Turi Create to use the GPU, see instructions.
The turicreate.config.set_num_gpus function allows you to control if GPUs are used:
# Use all GPUs (default)
turicreate.config.set_num_gpus(-1)

# Use only 1 GPU
turicreate.config.set_num_gpus(1)

# Use CPU
turicreate.config.set_num_gpus(0)
How it works
The key ideas in the image similarity model are similar to those in image classifier. When you run the Turi Create image classifier, it breaks things down into something like this:
Stage 1: Uses a pre-trained CNN classifier on a large, general dataset. A good example is ImageNet, with 1000 categories and 1.2 million images.
Stage 2: The outputs of each layer in the CNN can be viewed as a meaningful vector representation of each image. Extract these feature vectors from the layer prior to the output layer on each image of your task.
Stage 3: Create a nearest neighbors model with those feature vectors as input.
References
- [1] L. Fei-Fei, R. Fergus and P. Perona. One-Shot learning of object categories. IEEE Trans. Pattern Recognition and Machine Intelligence.