Converting a PyTorch Segmentation Model#
This example demonstrates how to convert a PyTorch segmentation model to a Core ML model (ML program). The model takes an image and outputs a class prediction for each pixel of the image.
Requirements#
This example requires PyTorch and Torchvision. Use the following commands:
pip install torch
pip install torchvision
pip install -U coremltools
Load the Model and Image#
To import code modules, load the segmentation model, and load the sample image, follow these steps:
Add the following
importstatements:import urllib import warnings warnings.simplefilter(action="ignore", category=FutureWarning) import torch import torch.nn as nn import torchvision import json from torchvision import transforms from PIL import Image import coremltools as ct
Load the DeepLabV3 model (
deeplabv3) segmentation model:model = torch.hub.load("pytorch/vision:v0.6.0", "deeplabv3_resnet101", pretrained=True).eval()
Load the sample image:
input_image = Image.open("cat_dog.jpg")
input_image.show()

Right-click and choose Save Image to download this test image.#
Normalize and Segment the Image#
Apply normalization to the image using the PASCAL VOC mean and standard deviation values, which were applied to the model’s training data. The following converts the image to a form that works with the segmentation model for testing the model’s output.
preprocess = transforms.Compose([
    transforms.ToTensor(),
    transforms.Normalize(
        mean=[0.485, 0.456, 0.406],
        std=[0.229, 0.224, 0.225],
    ),
])

input_tensor = preprocess(input_image)
input_batch = input_tensor.unsqueeze(0)
Get predictions from the model. Running the normalized image through the model will compute a score for each object class per pixel, and the class will be assigned with a maximum score for each pixel.
with torch.no_grad():
    output = model(input_batch)["out"][0]
torch_predictions = output.argmax(0)
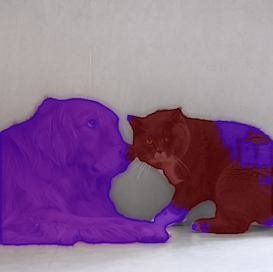
Plot the predictions, overlaid with the original image:
def display_segmentation(input_image, output_predictions):
    # Create a color palette, selecting a color for each class
    palette = torch.tensor([2 ** 25 - 1, 2 ** 15 - 1, 2 ** 21 - 1])
    colors = torch.as_tensor([i for i in range(21)])[:, None] * palette
    colors = (colors % 255).numpy().astype("uint8")

    # Plot the semantic segmentation predictions of 21 classes in each color
    r = Image.fromarray(
        output_predictions.byte().cpu().numpy()
    ).resize(input_image.size)
    r.putpalette(colors)

    # Overlay the segmentation mask on the original image
    alpha_image = input_image.copy()
    alpha_image.putalpha(255)
    r = r.convert("RGBA")
    r.putalpha(128)
    seg_image = Image.alpha_composite(alpha_image, r)
    seg_image.show()

display_segmentation(input_image, torch_predictions)
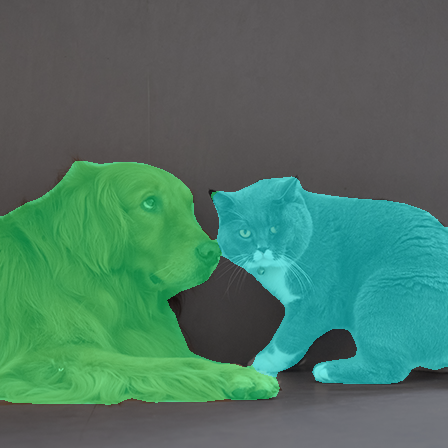
Plotting the predictions overlaid with the original image.#
Trace the Model with Sample Input#
Now that the PyTorch model is segmenting the image correctly, you can trace the PyTorch model using the cat and dog image (cat_dog.jpg) as input. A random input of the same shape also works.
However, the model returns a dictionary. If you try to use trace = torch.jit.trace(model, input_batch) without first extracting the output you want from the dictionary, the tracer outputs an error: Only tensors or tuples of tensors can be output from traced functions.
To sidestep this limitation, you can wrap the model in a module that extracts the output from the dictionary:
class WrappedDeeplabv3Resnet101(nn.Module):

    def __init__(self):
        super(WrappedDeeplabv3Resnet101, self).__init__()
        self.model = torch.hub.load(
            "pytorch/vision:v0.6.0",
            "deeplabv3_resnet101",
            pretrained=True
        ).eval()

    def forward(self, input):
        res = self.model(input)
        # Extract the tensor we want from the output dictionary
        x = res["out"]
        return x
Now the trace / export runs without errors:
torch_model = WrappedDeeplabv3Resnet101().eval()
traced_model = torch.jit.trace(torch_model, input_batch)
exported_program = torch.export.export(torch_model, (input_batch,))
Convert the Model#
Follow these steps:
Pass in the traced / exported model to
convert()to produce a Core ML model (ML program), and include the inputs to provide to the model:mlmodel_from_trace = ct.convert( traced_model, inputs=[ct.TensorType(name="input", shape=input_batch.shape)], )
Note
This example includes a name for the input to make it easier to construct the Core ML model’s input dictionary. To learn more about input options, see Flexible Input Shapes.
or
mlmodel_from_export = ct.convert(exported_program)
Note
For torch.export, the input name is inherited from the torch model. As of Core ML Tools 8.0, the input name cannot be customized yet.
Save the ML program using the
.mlpackageextension:mlmodel_from_trace.save("SegmentationModel_no_metadata_from_trace.mlpackage") mlmodel_from_export.save("SegmentationModel_no_metadata_from_export.mlpackage")
Set the Model’s Metadata#
Set the model’s metadata for previewing in Xcode, as described in Xcode Model Preview Types. Follow these steps:
Load the converted model from the previous step.
Set up the parameters. This example collects them in
labels_json.Define the
model.preview.typemetadata as"imageSegmenter".Define the
model.preview.parametersaslabels_json.Save the model.
# load the model
mlmodel = ct.models.MLModel("SegmentationModel_no_metadata_from_export.mlpackage")

labels_json = {"labels": ["background", "aeroplane", "bicycle", "bird", "board", "bottle", "bus", "car", "cat", "chair", "cow", "diningTable", "dog", "horse", "motorbike", "person", "pottedPlant", "sheep", "sofa", "train", "tvOrMonitor"]}

mlmodel.user_defined_metadata["com.apple.coreml.model.preview.type"] = "imageSegmenter"
mlmodel.user_defined_metadata["com.apple.coreml.model.preview.params"] = json.dumps(labels_json)

mlmodel.save("SegmentationModel_with_metadata.mlpackage")
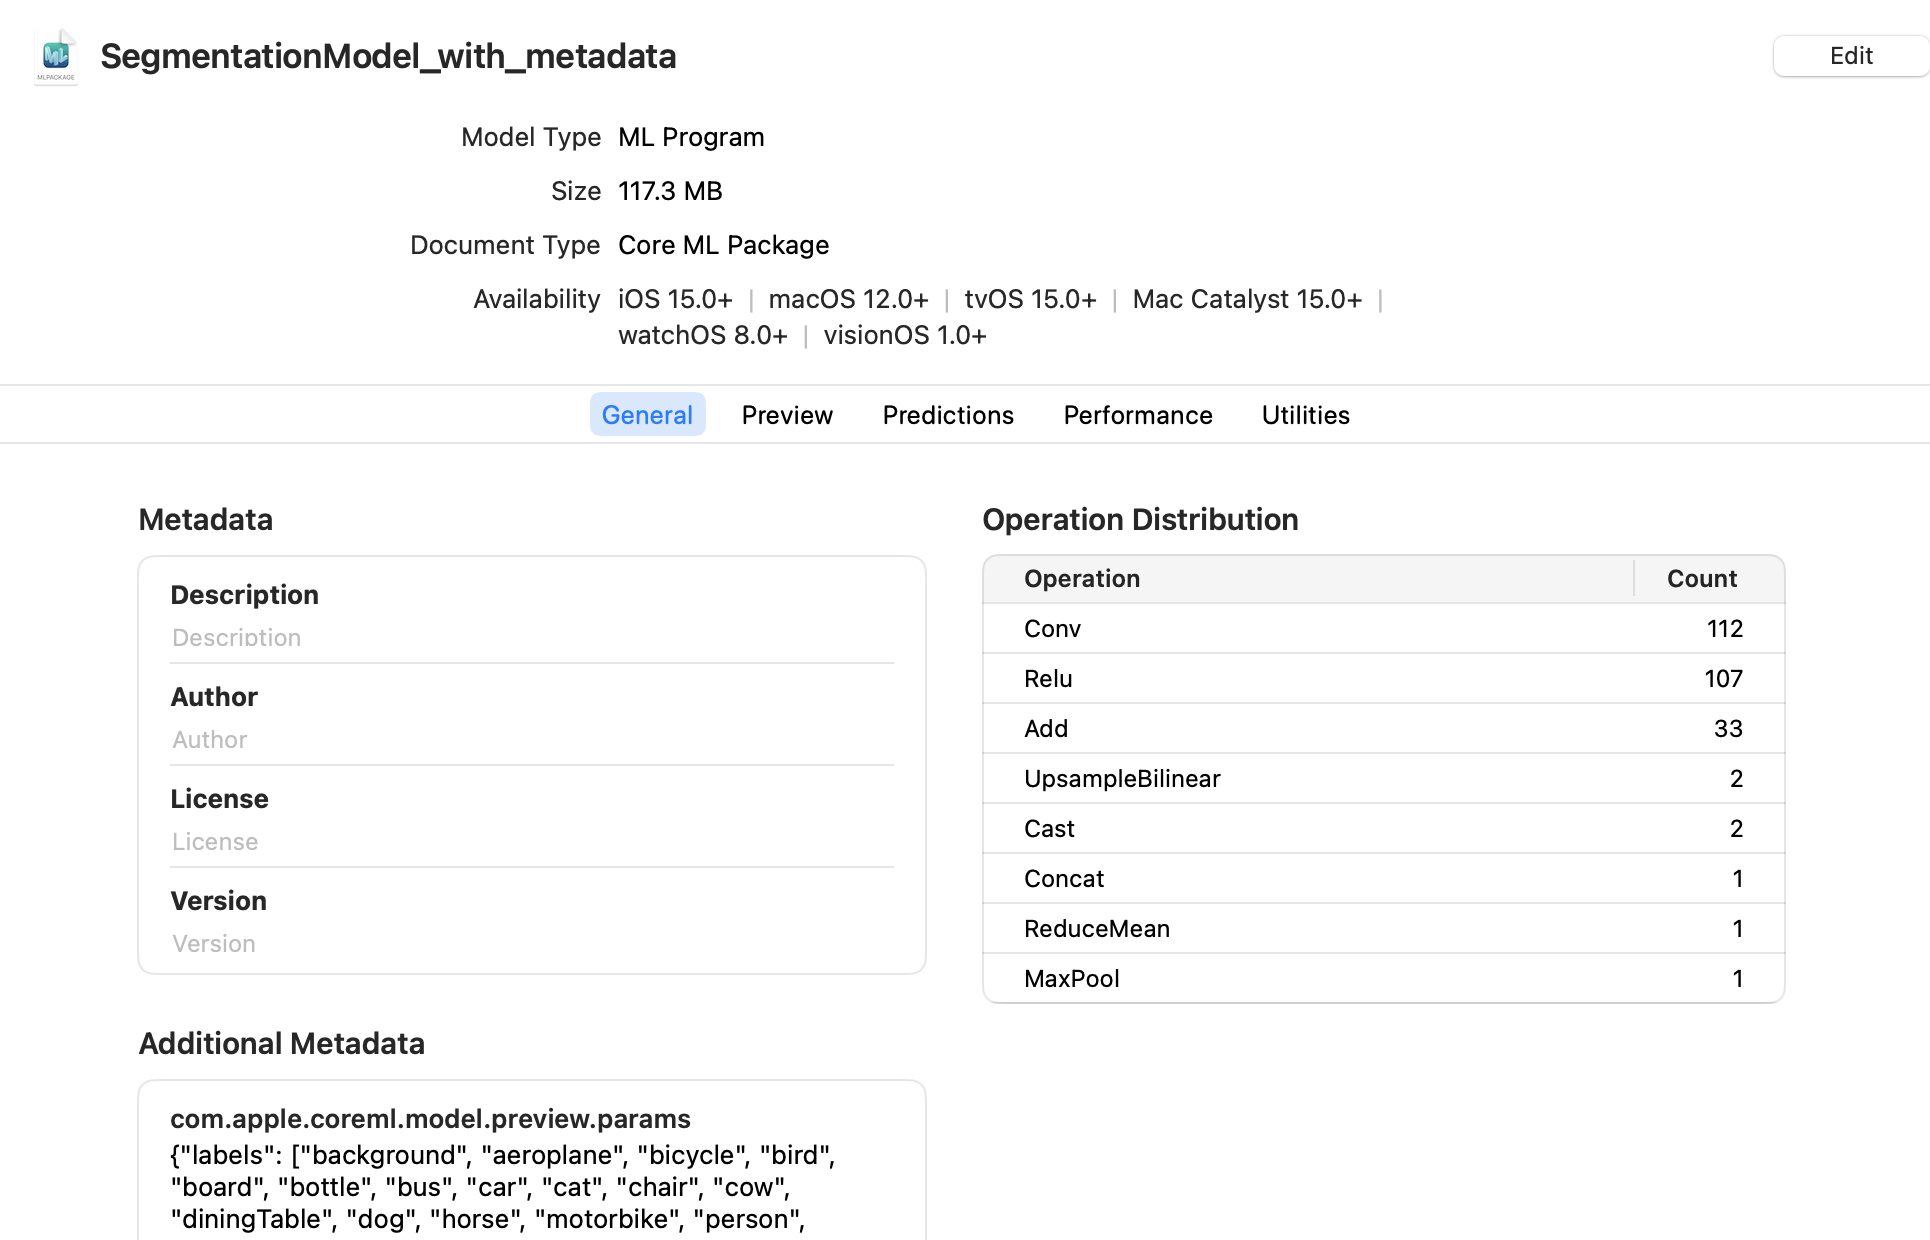
Open the Model in Xcode#
Double-click the saved SegmentationModel_with_metadata.mlpackage file in the Mac Finder to launch Xcode and open the model information pane:
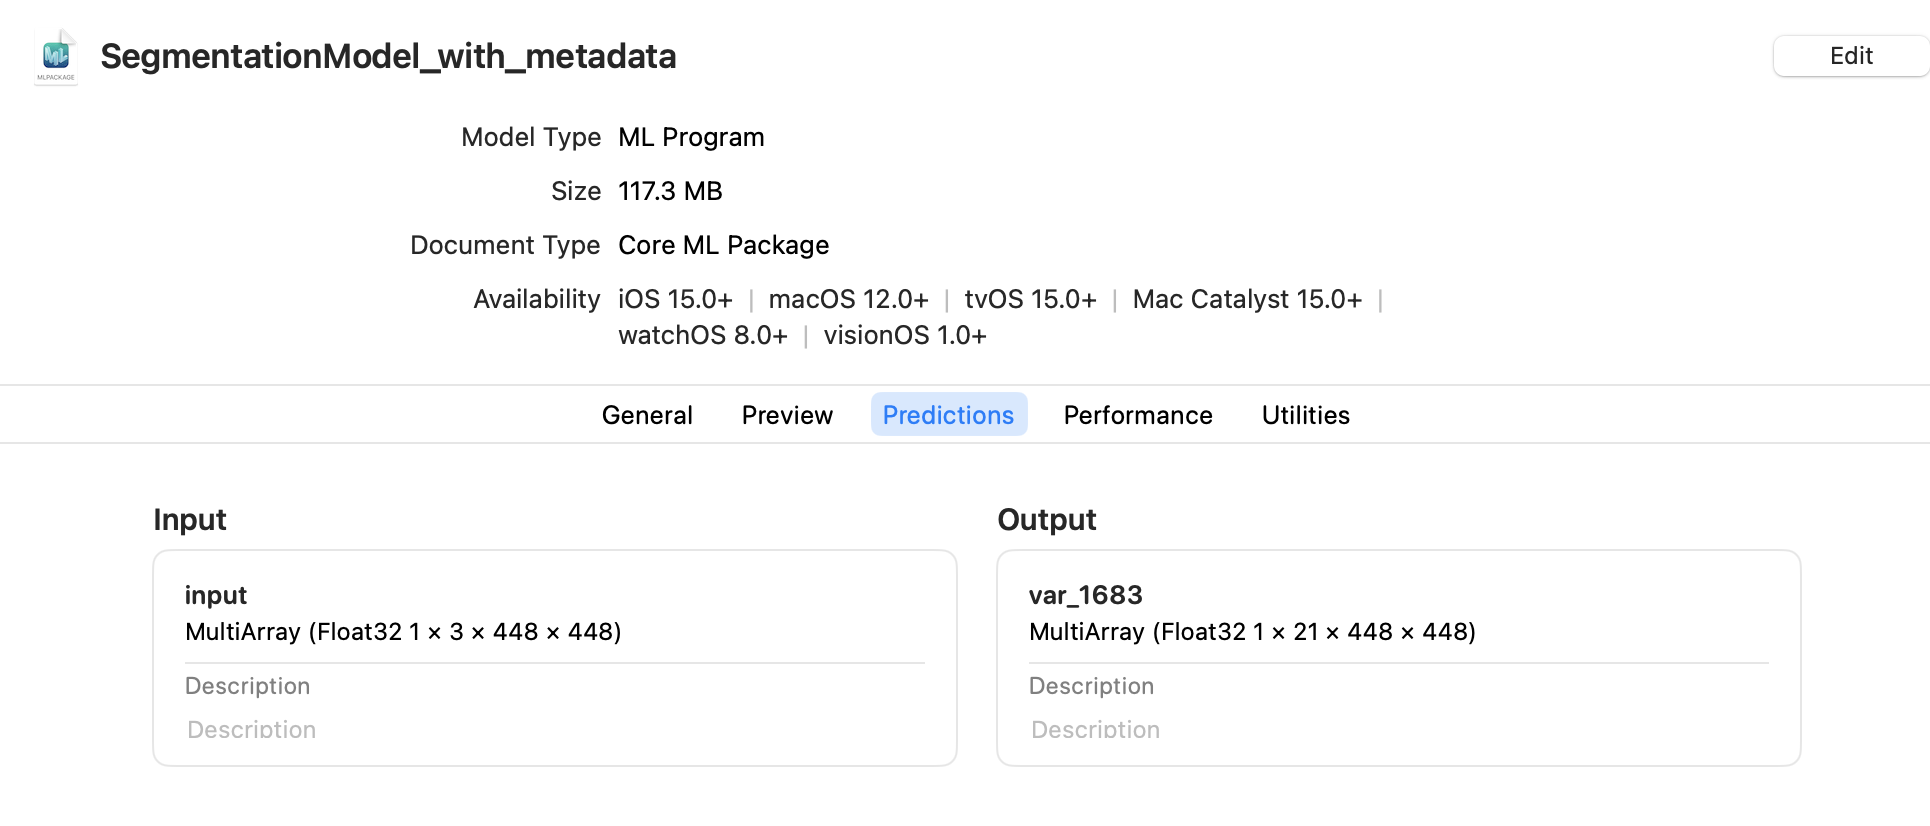
Click the Predictions tab to see the model’s input and output:
Note
The preview for a segmentation model is available in Xcode 12.3 or newer.
To preview the model’s output for a given input, follow these steps:
Click the Preview tab.
Drag an image into the image well on the left side of the model preview:
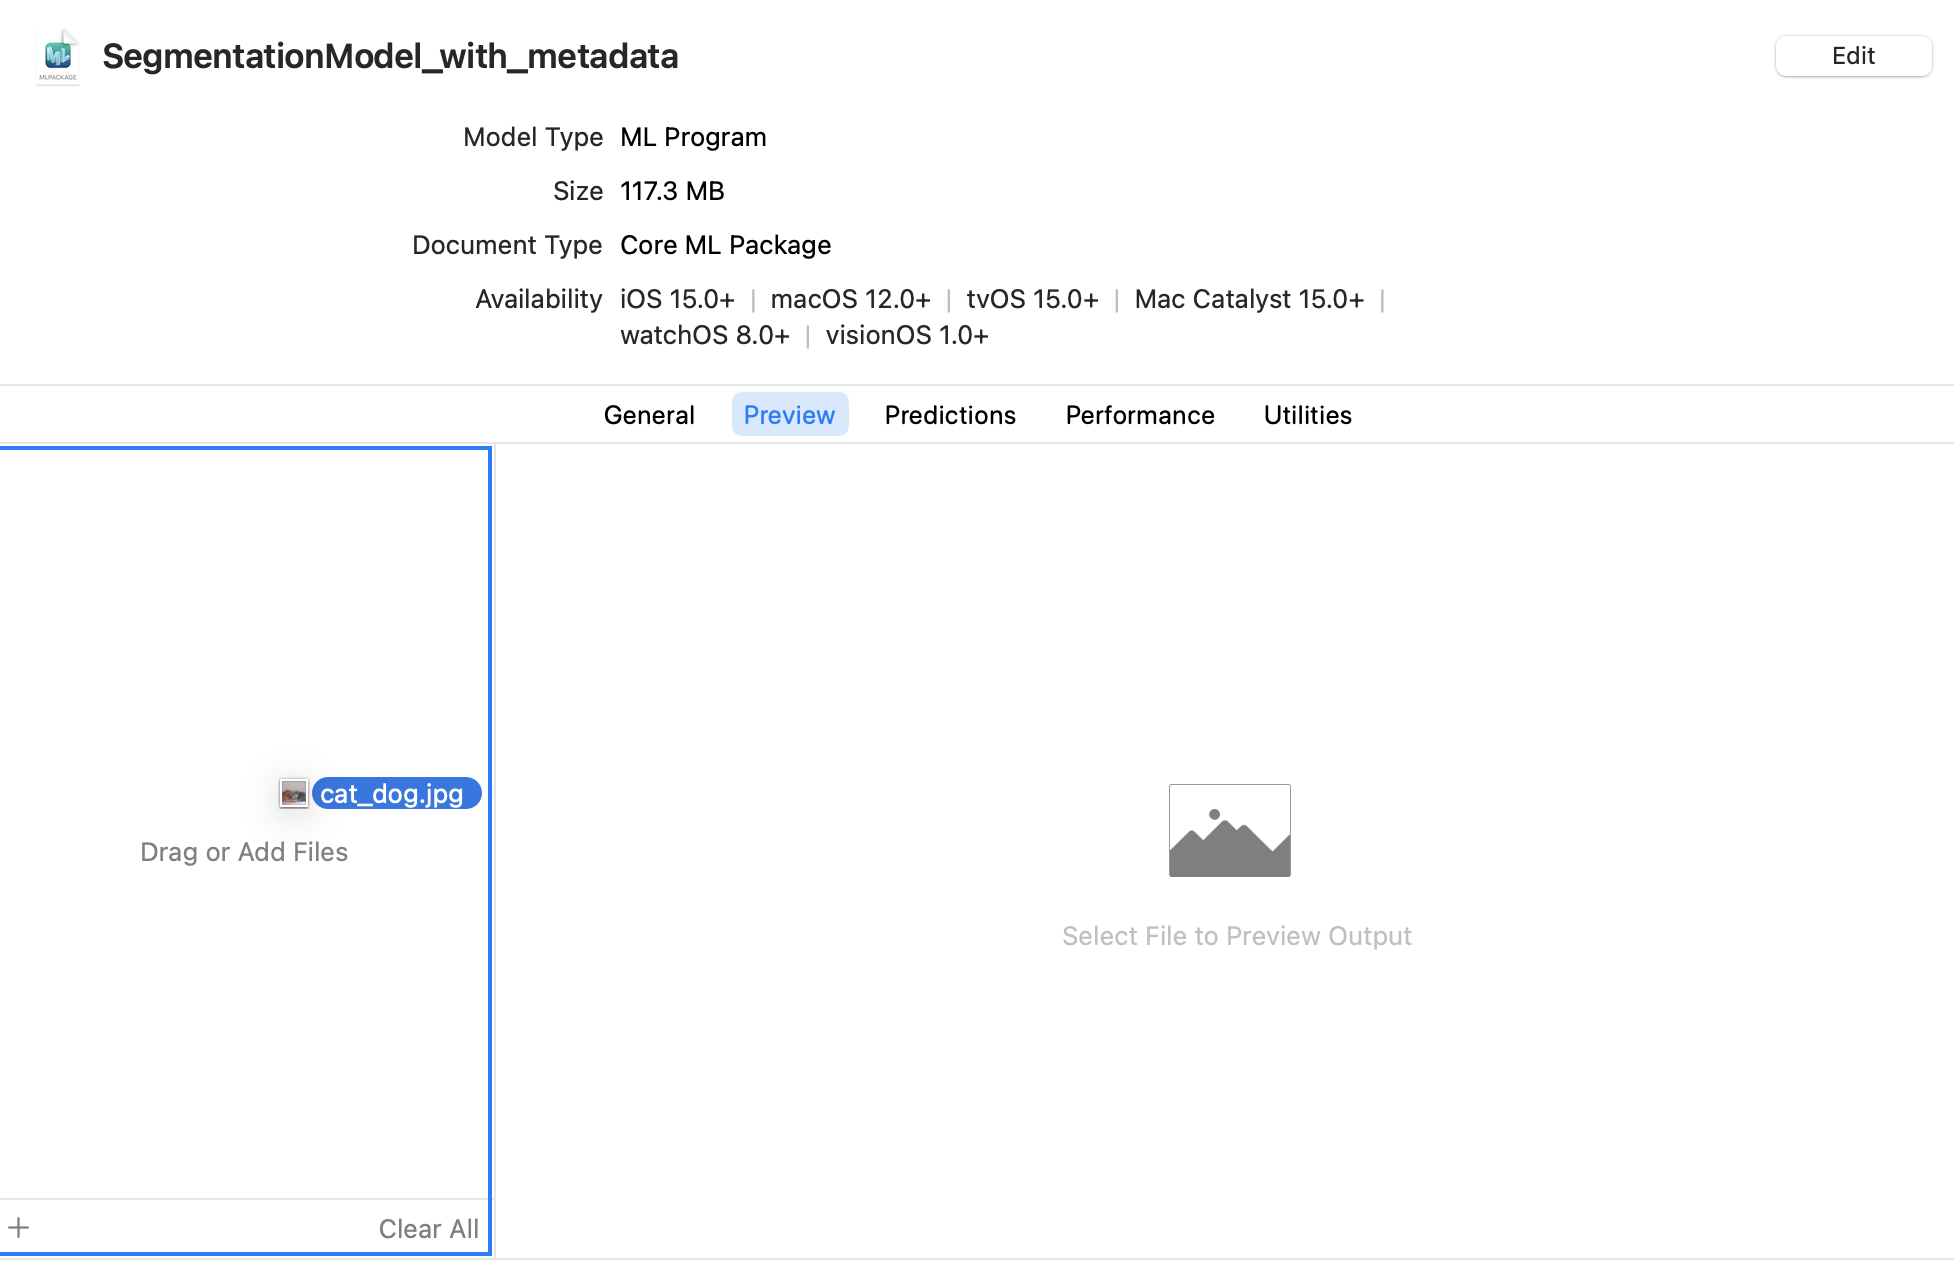
The result appears in the preview pane:
The preview pane.#
Tip
To use the model with an Xcode project, drag the model file to the Xcode Project Navigator. Choose options if you like, and click Finish. You can then select the model in the Project Navigator to show the model information. For more information about using Xcode, see the Xcode documentation.